
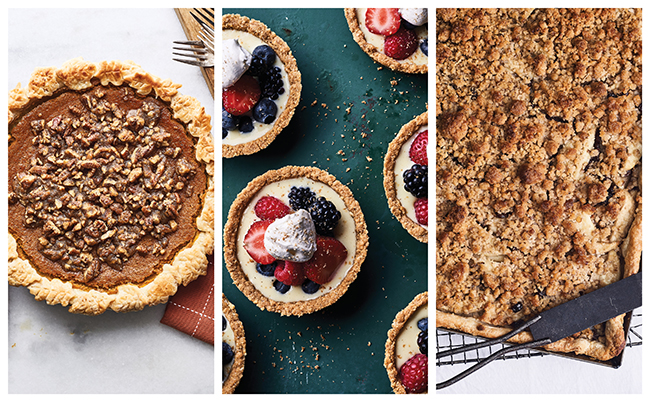
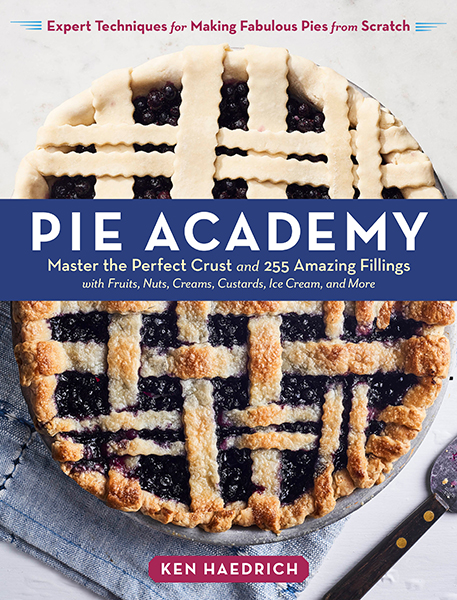
Pies from the new cookbook, Pie Academy. Photo: Emulsion Studio
Pies are taking center stage especially with fall and Thanksgiving upon us. If you long to make the perfect pie but settle for store-bought because your last homemade one was tough, flavorless, or looked, well, just too-homemade, Ken Haedrich, author of The Pie Academy cookbook is here to help.
Haedrich, 66, turned his passion for making pies into a career of writing cookbooks, contributing writer to publications, and today, the “Dean” of The Pie Academy.
The Pie Academy is an online community dedicated to the idea that anyone can learn to make great pies from scratch. Haedrich created The Pie Academy in 2012 as a way of sharing his passion for pie with a wide audience, and as a natural extension of his bestselling books on the subject.
According to Haedrich, “The Pie Academy is quickly gaining in popularity and I am in the thick of developing the recipes, instructional videos, audio, ebooks, blog, and other content” that he hopes will make The Pie Academy the #1 online resource for pie makers of all levels.
“We’ve all been told that pie making is easy – as easy as pie, right?” Haedrich said. “But I can tell you for a fact that most home cooks encounter plenty of speed bumps and fender benders on the road to pie mastery.”
 Through his latest book, The Pie Academy, 225 Mouthwatering Fillings and 25 Different Crust Styles. Learn to Make the Perfect Pie with Expert Techniques, Haedrich offers information and advice on the best pie maker’s tools, what to have on hand in the pantry as well as step-by-step tutorials.
You can learn how to make the perfect pie dough and a multitude of pies from berry and apple to other fall classics like pear, pumpkin, cranberry, and more.
“There are no shortcuts to learning how to make a good pie,” Haedrich said. Pie making is part science, part ‘feel’ or baker’s intuition. Recipes can only take you so far. Beyond that, pie-making requires practice and cultivated instincts for all the little nuances.”
Here are three of our favorites from his book.
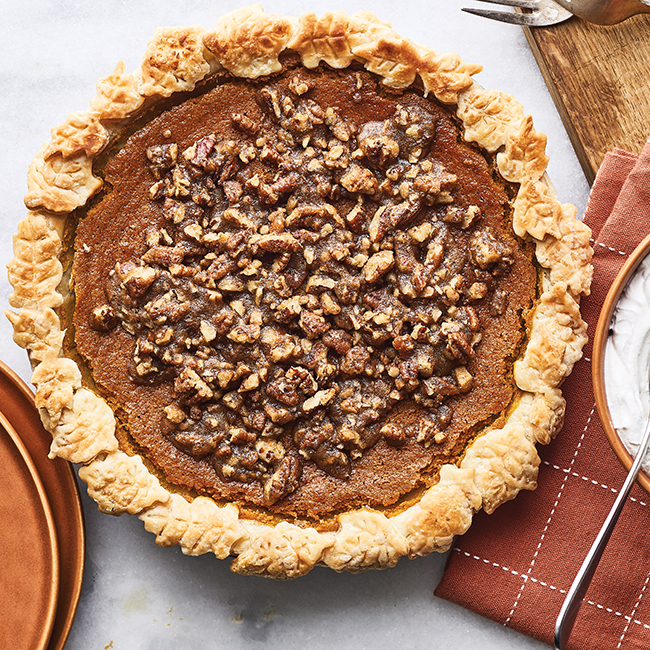
Pumpkin Praline Pie. Photo: (c) Emulsion Studio
Pumpkin-Praline Pie
There are pumpkin pies for purists and then there are over-the-top pumpkin pies for when you want a showstopper; this is the latter. The pumpkin filling would make a great pie on its own, but here it’s topped off with a crunchy coating of brown sugar–pecan praline. The pie is a pleasure to slice, first cutting into the crunchy praline and then the soft pumpkin. Thanks to my colleague Diane Rossen Worthington for sharing her recipe.
Makes 8–10 servings
Single-Crust Food Processor Pie Dough or another single-crust dough
Filling
3 large eggs, at room temperature
⅔ cup granulated sugar
1 (15-ounce) can pumpkin purée or 1¾ cups fresh
¼ cup half-and-half
½ teaspoon salt
½ teaspoon ground ginger
½ teaspoon ground nutmeg
¼ teaspoon ground cinnamon
¼ teaspoon ground cloves
3 tablespoons bourbon or 1 teaspoon vanilla extract
Praline Topping
1¼ cups chopped pecans
¾ cup packed light brown sugar
4 tablespoons unsalted butter, melted
2 tablespoons heavy cream
¼ teaspoon ground cinnamon
Whipped Cream, for garnish
Prepare and refrigerate the pie dough. Roll the dough into a 12 1/2 to 13-inch circle and line a 9 to 9 1/2-inch deep-dish pie pan with it, shaping the edge into an upstanding ridge. Flute or crimp the edge, chill the shell and partially prebake. (Note: prebaking directions are in the book).
Preheat the oven to 350°F (180°C). To make the filling, combine the eggs and granulated sugar in a large bowl. Using a handheld electric mixer, beat on high speed until light and lemon-colored, about 3 minutes. Add the pumpkin, half-and-half, salt, ginger, nutmeg, cinnamon, cloves, and bourbon, and blend on low speed until evenly mixed.
Put the pie shell on a baking sheet, near the oven, and carefully pour the filling into the shell. Bake the pie, on the sheet, on the center rack for 20 minutes. Rotate the pie 180 degrees and bake for 40 to 45 minutes longer, until the filling is set. When done, the perimeter of the pie will have puffed slightly. The very center will look a little glossy compared to the perimeter, which will have a dull finish.
Transfer the pie to a rack and cool completely. The praline can be added once the pie has cooled, or the pie can be covered and refrigerated until you’re ready to add the praline. The praline will need to stabilize for about 10 minutes before serving.
To add the praline topping, adjust one of the oven racks so that it is 6 to 8 inches from the broiler, and preheat the broiler. Combine the pecans, brown sugar, butter, heavy cream, and cinnamon in a medium bowl and stir well. Scrape the praline evenly over the pie and smooth with a spoon. Put the pie on a baking sheet and run it under the broiler until the topping is melted and bubbly. As it bubbles, move the baking sheet a couple of times, changing the position of the pie so it browns evenly. This entire process will happen quickly — in just a minute or two — so watch it like a hawk.
Transfer the pie to a rack and cool for at least 10 minutes before serving. Or cool thoroughly and refrigerate before serving. Garnish slices with whipped cream.
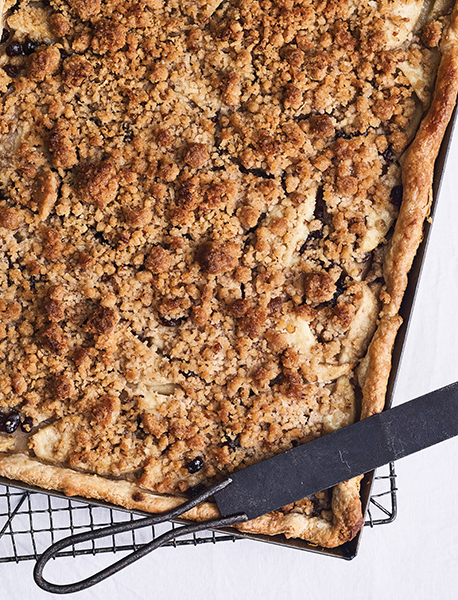
Caramel Apple Slab Pie with Melted Butter Crumb Topping. Photo: Emulsion Studio.
Caramel Apple Slab Pie with Melted Butter Crumb Topping
This is a popular recipe from my book The Harvest Baker, so I’m including it here with a couple of slight changes. I’m a big fan of slab pies; I’m glad they’re finally getting the love they deserve. Among other things, you’ll like the way the cream and brown sugar form a thick, caramel-like coating around the apples.
Makes 12–15 servings
Slab Pie Dough and Shell
Filling
7 cups peeled, cored, and sliced baking apples
½ cup raisins
⅔ cup packed dark brown sugar
1 tablespoon plus 1 teaspoon cornstarch
½ teaspoon ground cinnamon
Big pinch of salt
¼ cup heavy cream
1 tablespoon lemon juice
Melted Butter Crumb Topping or another crumb topping
Prepare the slab pie dough and make the slab shell in a jelly-roll pan. Refrigerate the shell until needed.
Adjust the oven racks so one is in the lower position and another is in the middle of the oven. Preheat the oven to 400°F (200°C).
Combine the apples, raisins, sugar, cornstarch, cinnamon, salt, cream, and lemon juice in a large bowl. Mix well; with so much filling, I like to mix with my hands. Spread everything out evenly in the shell, taking care to smooth over any apple tips, which have a tendency to scorch in the oven. Spread the crumb topping evenly over the apples; you’ll probably need all of it.
Put the pie on the lower oven rack and bake for 25 minutes. Lower the heat to 375°F (190°C) and move the pie up to the middle rack, rotating it 180 degrees. Bake for 30 to 35 minutes longer, until the juices are bubbly and the topping is golden brown. If the crumb topping starts to get too brown, cover it with aluminum foil.
Transfer the pie to a rack and cool for at least 1 hour before serving. I prefer it lukewarm or at room temperature. Cover and refrigerate leftovers after 24 hours.
Recipe for Success
It bears repeating that you really have to use a proper jelly-roll pan. If the pan has sides shorter than 1 inch, the pie might bubble over.
Use light brown sugar in the filling if that’s all you have, but the dark does give it an extra caramel flavor.
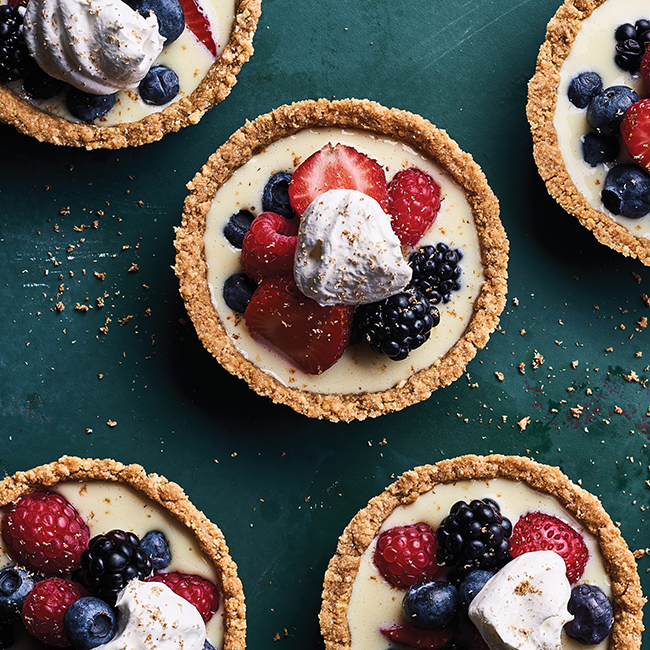
Little Berry Pies in Vanilla Custard Sauce. Photo: (c) Emulsion Studio
Little Berry Pies in Vanilla Custard Sauce
These are sweet little pies. You’ll want to make them all summer long as the parade of fresh fruit marches on. Simply bake up a half-dozen mini crumb crusts, pour some vanilla custard sauce (crème anglaise) into each, then add fresh berries and a dollop of whipped cream. Couldn’t be simpler or more delicious.
Makes 6 mini pies
Graham Cracker Crust or another crumb crust
Filling
Vanilla Custard Sauce, well chilled
1 pint fresh raspberries, blackberries, blueberries, or hulled and sliced strawberries
Whipped Cream for serving
Ground nutmeg, for garnish
Prepare the crumb crust mixture and divide it equally among
six 4- to 41/2-inch-diameter (1/2-cup capacity) buttered pie pans, pressing it in evenly against the bottoms and sides of the pans.
(If your pans are slightly larger, use four or five pans.) Refrigerate the shells for 10 to 15 minutes.
Preheat the oven to 350°F (180°C). Arrange the shells on a rimmed baking sheet, evenly spaced.
Bake on the middle oven rack for 8 minutes. Transfer to a rack and cool.
Fill each cooled shell about halfway with the vanilla custard sauce. Make a nice little mound of berries in each. Dollop with whipped cream, dust with nutmeg, and serve. Refrigerate leftovers.
Recipe for Success
To be clear, the custard sauce is a sauce; it doesn’t firm up like cup custard. It will ooze thickly when you spoon it into the pie, as it should, but that’s no concern since it will be contained in the pan.
Nobody would blame you for drizzling a little caramel sauce into the shell before you add the custard sauce.